


Introduction to PCVR
PCVR, or PC Virtual Reality, is the new frontier in the realm of gaming and interactive media. It provides a whole new level of immersion, transporting you into a virtual world with a mere headset. Among the forerunners in this technology is the Valve Index VR, a high-end virtual reality system designed for the ultimate PCVR experience.
The Valve Index VR: At a Glance
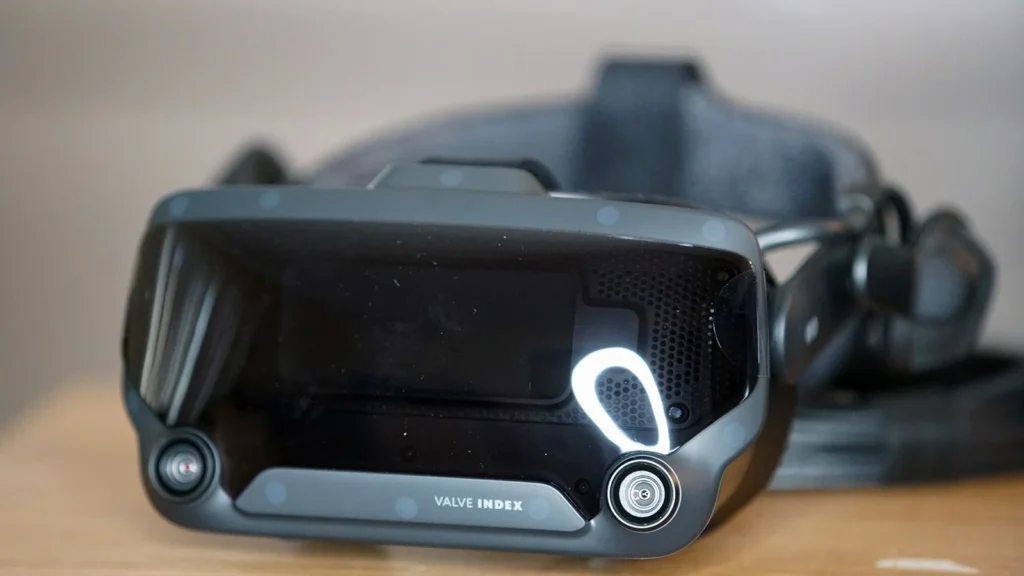
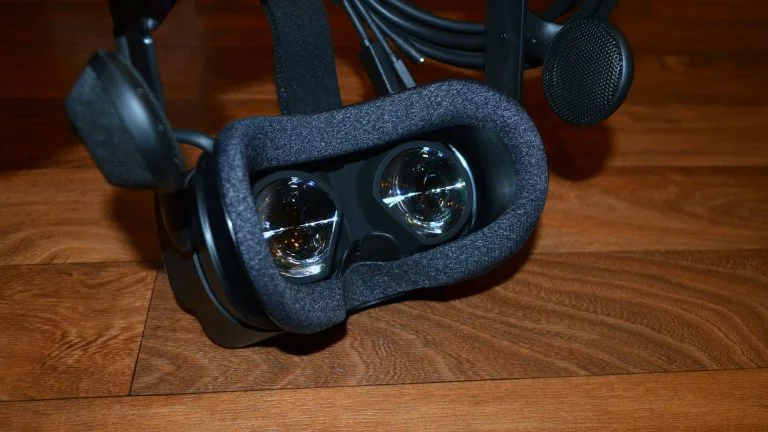
The Valve Index VR is a premium VR system, a product of the renowned Valve Corporation. It boasts a high-resolution HMD (Head-Mounted Display), controllers with individual finger tracking, and two base stations for an immersive experience. However, this top-notch VR system comes with a hefty price tag of $999.
Before the Purchase
Before diving into the world of PCVR with Valve Index VR, there are some considerations to keep in mind.
Compatibility with Prescription Glasses
If you’re farsighted or have astigmatism, you’ll need to order lenses. VR Optician seems to be a popular choice, offering shipping all over Europe and the US. The lenses cost around $69, with additional fees for extra work.
Availability and Waiting Period
Due to high demand and limited availability, there may be a waiting period of up to two months before you receive your Valve Index VR.
Controller Issues
Some users have reported joystick drift issues with the controllers. Be prepared to request a replacement (RMA) if this happens.
Setting Up Your Valve Index VR
Once you’ve made the purchase and your Valve Index VR arrives, the real journey begins.
Inspect the Package
Before opening, inspect the box for any damage and take pictures as evidence in case you need to return it due to shipping damage.

Preload SteamVR
As you unpack your new VR system, preload SteamVR. This software will install drivers for you.
Set Up Your Play Space
Ensure that your play space is clear to avoid damaging your controllers or other equipment.
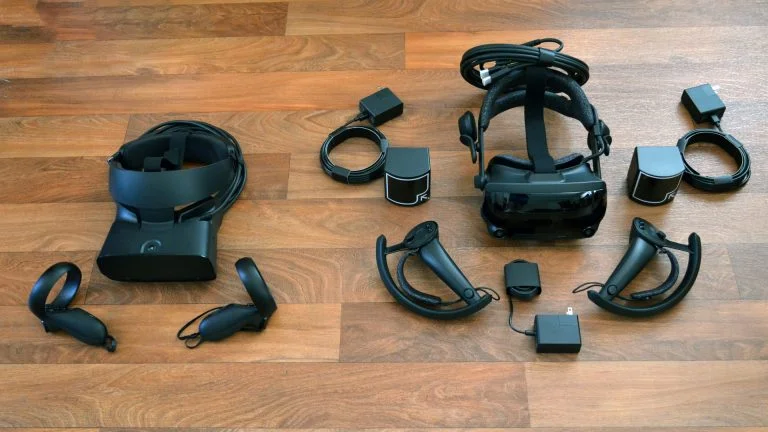
Unpacking Your Valve Index VR
Unpack everything carefully. Each controller uses USB-C cables for charging. Begin charging them as you continue with the setup process. The base stations need to be placed high up in opposite corners of the room, with clear lines of view.
Base Station Installation
Each base station requires power via an AC adapter. Ignore the micro-USB ports in the back; they’re just there to confuse you. Be sure to remove the protective film on the front of the base stations, or they won’t be visible to the HMD.
Connecting the HMD
Disconnect the inline breakaway connector and then hook up the USB-3, DisplayPort, and AC connections. Once you’re satisfied with the ports you’ve chosen, you can connect your headset to the breakaway connector.
Pulley System Setup
Install the HMD cable into a pulley system like the Kiwi Designs V2 Pulley System. This system protects the delicate cable and ensures you have enough slack for unrestricted movement.
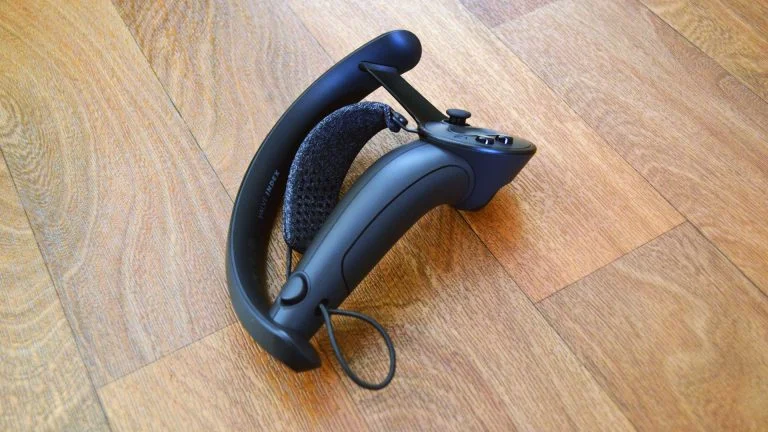
Controller Safety Lanyards
Install the safety lanyards onto your controllers as instructed in the pamphlet. This precaution will prevent you from inadvertently dropping your controllers during intense VR sessions.
Starting Up SteamVR
Start SteamVR by pressing the tiny recessed button on one of your controllers and follow the instructions till it prompts you to put on the headset.
Installing Lenses and Fitting the HMD
If you’ve ordered lenses, install them at this stage. Next, fit the HMD as shown in the setup pamphlet.
Finishing the Setup
Once you’ve completed the tutorial, you’ll land in SteamVR Home, where you can start exploring the world of PCVR with your Valve Index VR.
Enjoy Your New PCVR!
The Valve Index VR offers an immersive PCVR experience like no other. With this comprehensive guide, you can navigate the setup process with ease and dive into a new realm of virtual reality. Happy gaming!